
Final Phase Concrete · Gallery
A reference library of finished surfaces.
Twelve surfaces, from flake epoxy in a gym to polished concrete under high bay lighting. Use them to work out which finish family suits the room you've got, then tell us what you're standing on.
Read this first
What you're
looking at.
Every caption describes a surface and a finish type only. We name no client, address, date or contract, and nothing here records a job we've delivered.
This page is a reference library of surfaces, finishes and installation types: flake epoxy, mechanically polished concrete, coated garage slabs, exterior flat work and poured rubber. None of the frames below carries a Final Phase Concrete caption. We won't put our name on a photograph whose provenance we can't stand behind.
We're assembling a photographed archive of our own finished work, shot properly and captioned with the system, the substrate and the setting. Until it exists, honest reference imagery serves you better than a wall of pictures labelled as ours.
When the real photographs are ready, they replace what's here.
Finish families
Twelve surfaces,
side by side.
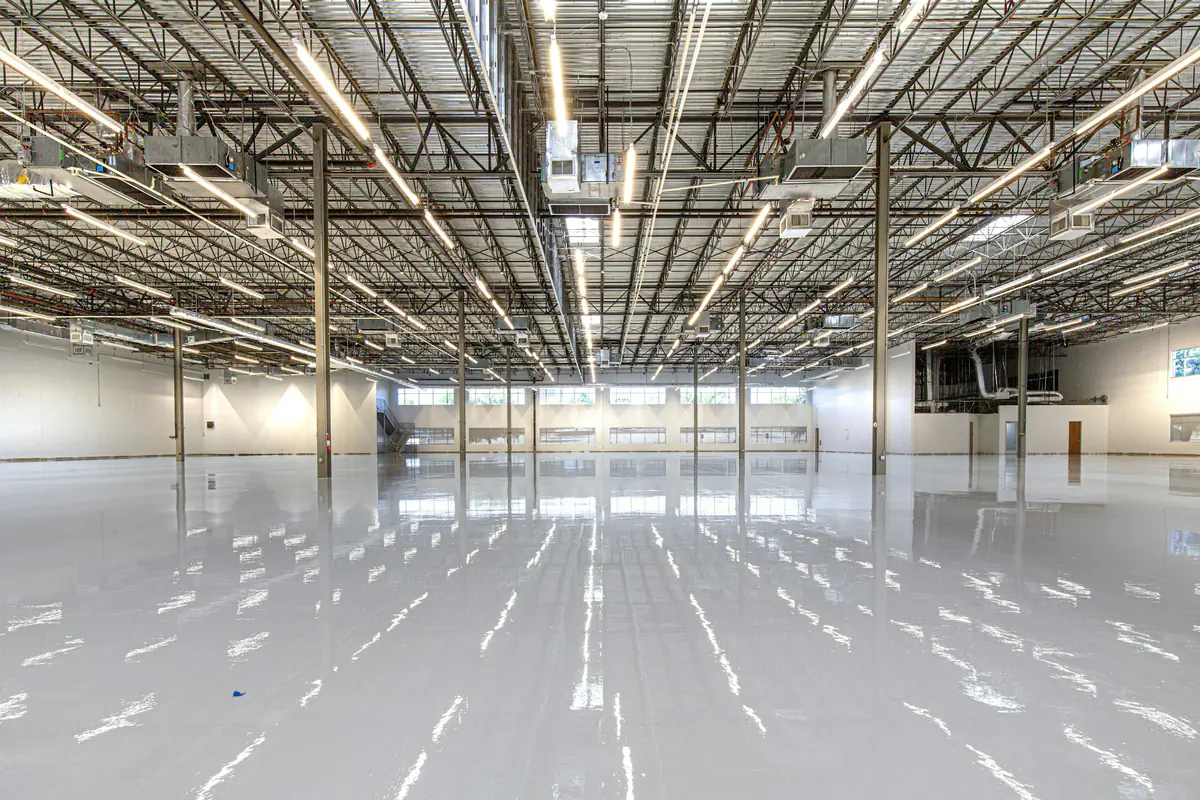
Open any frame to see it larger. In a floor photograph the useful information sits in the reflection, the edge detail and the joints, not in the colour.
Sorting the twelve
Four families,
four different jobs.
Flake coating, polished concrete, exterior flat work, poured rubber. They compete less than people expect, because the room, the slab and the traffic usually pick one of them for you.
Onto the slab,
or into it.
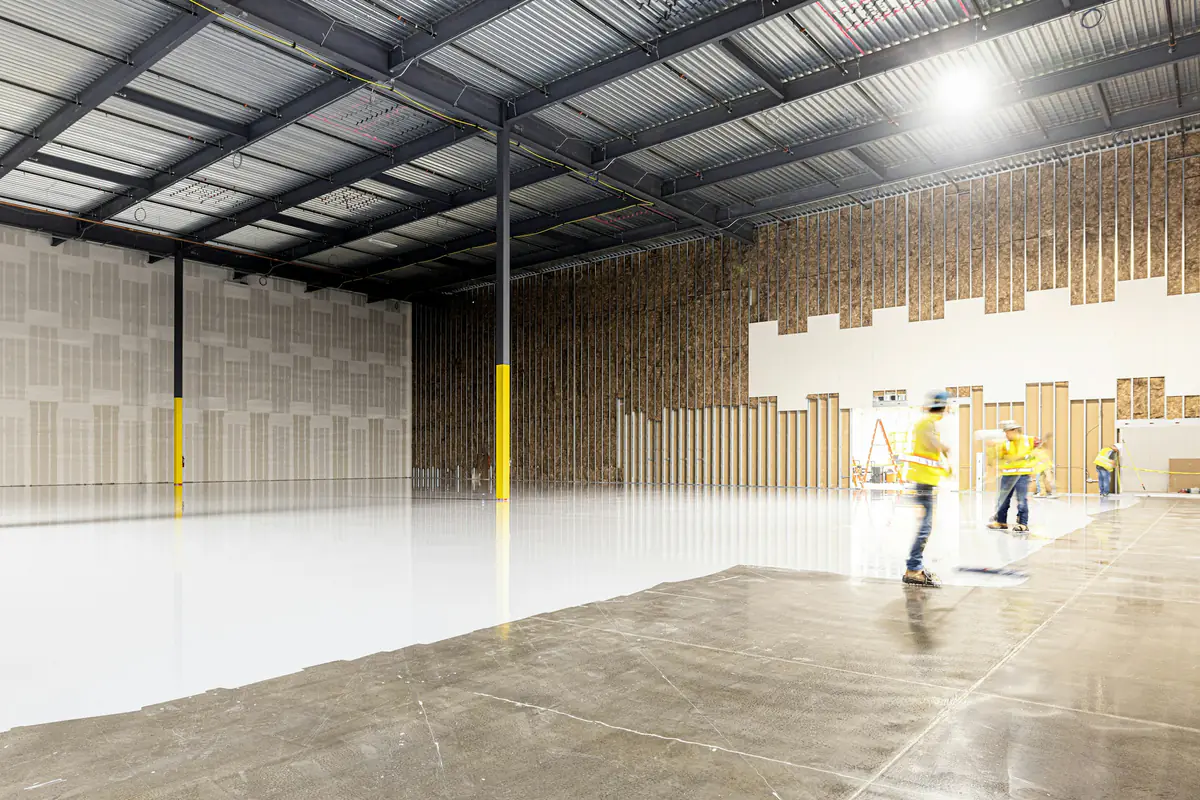
A coating goes over a slab you already own. We grind or shot blast the surface open so the resin keys into it, roll a pigmented base coat, broadcast flake into the wet resin until the floor rejects any more, then scrape the sharp edges back and seal the lot under a clear topcoat. That topcoat carries the abrasion, the chemical resistance and whatever grip you asked for.
Polishing works the opposite way round. Instead of adding a film, diamond tooling cuts into the slab, a densifier hardens what the cut exposed, and finer and finer grits bring the reflection up out of the concrete itself. Nothing sits on top, so nothing can peel.
Flat work placed outdoors settles its colour and texture long before anybody thinks about a finish. The mix, the broom or the stamp, the slope and the joint grid all land in the same week the truck backs up, and every one of them outranks colour once winter arrives.
Poured rubber is the outlier. It's EPDM granules bound on site with a urethane binder and troweled over a base, permeable enough to drain a wet deck and soft enough to change what happens when a child lands on it.
| Criterion | Flake coating | Polished concrete | Exterior flat work |
|---|---|---|---|
| What it is | A resin build over an existing slab | The slab itself, ground and refined | New concrete, placed and finished |
| Where the colour lives | In the flake blend and the topcoat | In the cement, sand and stone already there | In the mix, plus a release tone on stamped work |
| Preparation | Grinding or shot blasting to open the pores | Progressive diamond grits, coarse metals through fine resins | Sub-base, compaction, reinforcement, forms |
| How it wears | Topcoat scuffs and dulls in the traffic lanes | Burnishes brighter where feet fall most | Surface paste erodes; salt and freeze-thaw scale it |
| Routine care | Dust mop, neutral cleaner, no vinegar or citrus | Dust mop, then an auto scrubber with clean water | Rinse the deicer off, reseal on a cycle |
| Repair | Recoat a lane or a bay when it dulls | Re-polish locally; there's no film to delaminate | Patches show, because colour and texture rarely match |
| Cold weather | Slab temperature governs; polyaspartic tolerates cold better than epoxy | Interior work runs through the winter | Placing needs both the ground and the air on your side |
Colour comes last in all three. Pick the family that matches how the space gets used, then narrow the palette inside it: the flake grid and the stamped colour catalogue both live on the colour selection page .
Judging the work
How to read a
floor photograph.
Photographs flatter floors. These four checks separate a well built surface from a well lit one, and they work on anyone's gallery, ours included.
Look at the reflection
On polished concrete, gloss comes from how far the slab travelled through the grit sequence. A properly refined floor reflects a crisp edge on the light fitting above it, while a floor somebody simply sealed gives back a soft, smeared shape.
Look at the perimeter
Coatings fail at the edges first, where water sits and where the roller ran out of reach. Look for the coating carried cleanly to the wall or turned up into a cove. If it stops an inch short with grey slab showing, the rest of the floor probably got the same care.
Look at the joints
Control joints tell you whether anyone planned the slab. Indoors they want a semi-rigid filler and a flush grind, so wheels roll over the arris (the sharp top edge either side of the joint) instead of chipping it away. Outdoors they want a deliberate grid, because concrete cracks and the joints decide where.
Look along the surface, not down at it
Raking light exposes roller lap marks, orange peel in a topcoat and the low spots that hold water. A photograph taken low and along the floor is a confident photograph. One taken straight down hides almost everything.
Local conditions
What Colorado
does to a floor.
Freeze-thaw, deicing chemicals and hard ultraviolet light. All three decide what a surface looks like in year five, and not one of them shows up in a photograph taken on day one.
Outside, the
enemy is water.
Front Range weather punishes exterior concrete, though the cold on its own isn't really the problem. Water is. Snow melts on a sunny slab at midday, soaks into the pores of the surface, freezes again after dark and expands roughly nine percent, and the paste on top comes away in flakes about the size of a coin. That's scaling, and once it starts on a driveway it keeps going.
Deicing salt makes the whole thing worse. It drives more melt and freeze cycles through a slab in one February afternoon than the weather manages on its own, and magnesium and calcium chloride attack the cement paste chemically while they're at it. So the jointed, sealed driveway two sections up isn't decoration. Outside, the joint layout and the sealer schedule are what stand between you and a resurfacing bill.
Sunlight is the second problem, and up here there's more of it hitting harder. Ultraviolet light yellows clear epoxy and aromatic urethane, so anything exposed to real sun wants a UV-stable topcoat instead: aliphatic polyurethane or polyaspartic. Pigment shifts too. A red or deep charcoal blend under a south-facing window moves further in five years than a mid grey will.
Indoors, the slab works against you from underneath. Concrete on grade with no working vapour barrier pushes moisture up through itself for as long as the ground stays damp, and a film-forming coating traps that moisture until the bond gives up in patches. Any coating quote on an older slab should include a moisture test. But plenty of them don't, and that's a fair thing to ask about before you sign.
Two questions sort the field quickly: what did the moisture test read, and what surface profile did the grind leave behind? Anyone who measures both will give you the numbers straight away.
Questions we get
Before you
send photos.
No, and we'd rather say that plainly than dress a stock photograph up as ours. Every frame here stands in for a finish type we install. Once we've shot our own work properly, with the system and the substrate recorded, that archive takes this page's place.
Usually, if the old coating still holds on. We test the bond, grind the surface back to a sound profile and go over the top. Where an old film lifts in sheets, or where a garage kit has peeled around the tyre tracks, the whole lot has to come off first. That's grinding time, and it belongs in the quote, not in a surprise on day two.
Flatness and what's in the mix decide it. A slab that was power troweled flat, poured with decent stone and kept free of heavy patching polishes beautifully. A wavy slab full of repairs can still take a grind and a densifier, but the aggregate will open unevenly, and you'll see it.
The flake itself gives a floor some texture, and the topcoat sets the rest. A fine aggregate broadcast into that final coat trades a little cleaning ease for a lot of grip, which is the trade worth making anywhere a surface gets wet often. Tell us how the space gets used and we'll match the texture to it.
Send yours in
Photograph your floor as it is today.
The most useful picture you can send us is the unflattering one. Cracks, spalling, oil staining, an old coating lifting at the edge: that's what decides whether a surface takes a coating, grinds and polishes, or has to come out altogether.
Send a few frames with your enquiry and we'll tell you what we think you're dealing with before anybody drives out to look at it.
- One wide frame of the whole area, taken from a corner
- One low frame along the surface, so the light rakes across it
- Close shots of any cracking, pitting or coating failure
- Rough dimensions and what the space is used for

Next step
Like the look of one of these?
Tell us which finish caught your eye and roughly how big the area is. We'll come back with what that surface actually needs.